How To Upgrade To A New Version Of The .NET RESTful Engine
This article outlines the steps you should take when upgrading your .NET RESTful Engine to a new version when its availible. Check the Downloads Page for the most recent version.
Requirements
All you need to upgrade the .NET RESTful Engine to a newer version is the new RESTful Engine zip folder.
Steps
Ensure that the RESTful Engine is not running (stop the website in IIS)
Delete the RESTful directory (
C:\inetpub\wwwroot\RESTfulEngine)noteIf you have any special configurations in your web.config file and don't want to go through setting it up again, we recommend you move the web.config file from the RESTful directory before deleting it, and placing it in the new RESTful directory when its setup.
Unzip the new RESTfulEngine.zip file, and paste the RESTfulEngine directory inside here:
C:\inetpub\wwwroot\Make sure you add your license key to the new web.config folder
Lastly we want to make sure the permissions are still setup properly for the RESTful Engine in IIS, so right click on the website in IIS, then click "Edit Permissions":

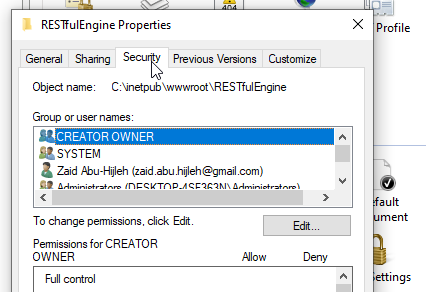
Then click on the "Security" tab:
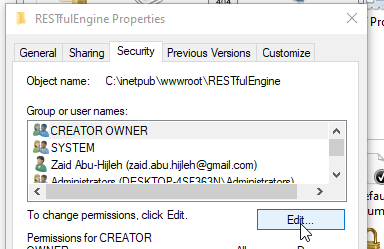
- Click on "Edit":
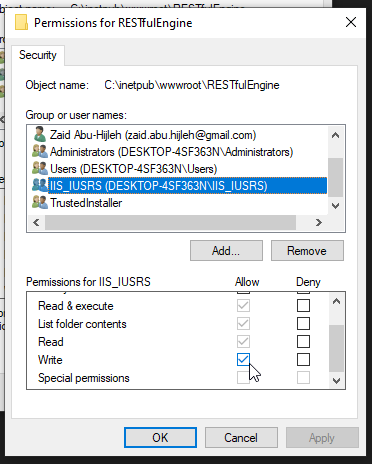
- Scroll down to "IIS_IUSRS" and select it. Make sure the following permissions are given:
- You can now start up your new RESTful Engine and start using it.